Installing a Split System Air Conditioning in Central Florida
Summer in Central Florida is no joke. With temperatures soaring into the 90s, a reliable air conditioning system is a necessity. If you're considering installing a split system air conditioning unit, you're making a smart choice. Not only are these systems efficient and cost-effective, but they also provide excellent cooling performance tailored to your specific needs.
In this guide, we'll walk you through everything you need to know about installing a split system air conditioning unit. From choosing the right AC supplies to the step-by-step installation process, we've got you covered.
What is a Split System Air Conditioning?
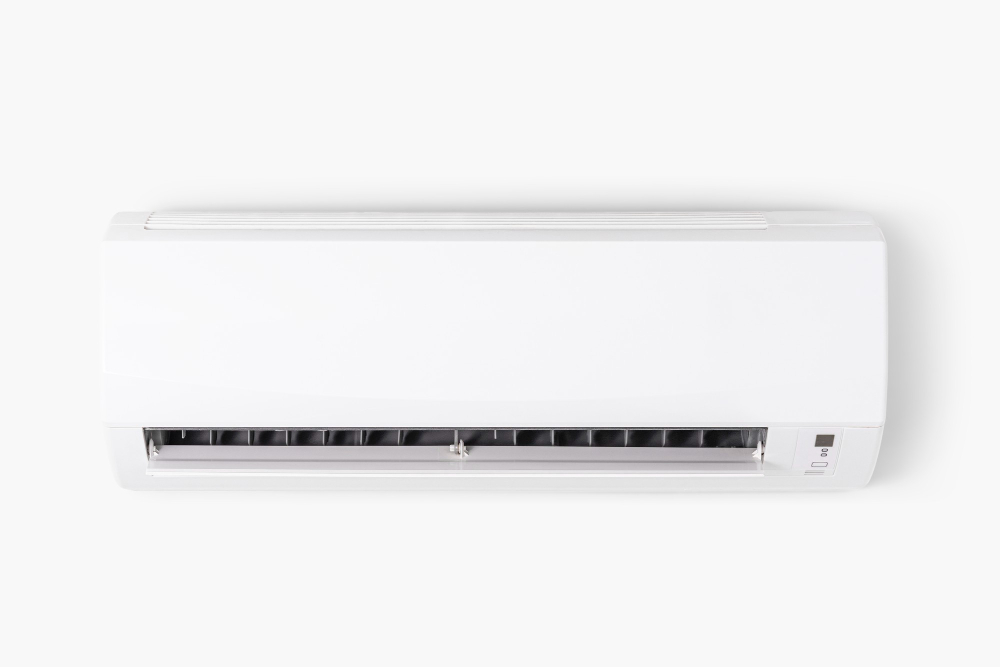
A split system air conditioning unit consists of two main components:
- The indoor unit, which includes the evaporator coil and blower.
- The outdoor unit, which houses the compressor and condenser coil.
These two units are connected by refrigerant lines, allowing them to work together to cool your home. Split systems are known for their efficiency, quiet operation, and ease of installation compared to traditional central air systems.
Benefits of Split System Air Conditioning
Efficiency
Split systems are extremely efficient, often boasting high SEER (Seasonal Energy Efficiency Ratio) ratings. This means they use less energy to cool your home, resulting in lower utility bills.
Flexibility
With a split system, you can cool specific areas of your home without having to install ductwork. This makes it an excellent choice for homes without existing ductwork or for room additions.
Quiet Operation
The noisy components of a split system (compressor and condenser) are located outside your home, making the indoor environment much quieter.
Improved Air Quality
Many split systems come with advanced filtration options that can remove dust, pollen, and other allergens, improving the air quality in your home.
Choosing the Right AC Supplies in Central Florida
Before you start the installation process, it's crucial to gather all the necessary supplies. Here are some key components you'll need:
Indoor Unit
Choose an indoor unit that matches your cooling requirements. Consider the size of the room and the unit's cooling capacity, measured in BTUs (British Thermal Units).
Outdoor Unit
The outdoor unit should be compatible with your indoor unit. Make sure to check the manufacturer's specifications for compatibility.
Refrigerant Lines
These lines connect the indoor and outdoor units. Ensure you have the correct length and type of refrigerant lines for your installation.
Mounting Brackets
You'll need sturdy mounting brackets to securely attach the indoor unit to the wall. Make sure they are rated to support the weight of the unit.
Electrical Components
This includes circuit breakers, electrical wiring, and disconnect switches. Ensure all electrical components meet local building codes and regulations.
Insulation
Proper insulation of the refrigerant lines is essential to prevent energy loss and maintain efficiency.
Tools
Gather all necessary tools, including a drill, level, wrenches, and a vacuum pump.
For all your AC supplies in Central Florida, consider reaching out to Discount Air Supply. We offer a wide range of high-quality components to ensure your installation goes smoothly.
Step-by-Step Installation Guide
Step 1: Choose the Installation Location
Select a location for both the indoor and outdoor units. The indoor unit should be placed high on a wall to ensure even cooling, while the outdoor unit should be in a well-ventilated area away from direct sunlight.
Step 2: Mount the Indoor Unit
- Install the mounting bracket on the chosen wall. Use a level to ensure it is straight.
- Drill a hole through the wall for the refrigerant lines, electrical wiring, and drainage pipe. The hole should be slightly sloped downward toward the outside to ensure proper drainage.
- Attach the indoor unit to the mounting bracket, ensuring it is secure.
Step 3: Install the Outdoor Unit
- Place the outdoor unit on a solid, level surface. Use a concrete pad or mounting brackets if necessary.
- Connect the refrigerant lines to the outdoor unit, following the manufacturer's instructions.
- Run the electrical wiring from the indoor unit to the outdoor unit, ensuring all connections are secure and meet local codes.
Step 4: Connect the Refrigerant Lines
- Run the refrigerant lines through the hole in the wall, connecting them to the indoor unit.
- Insulate the refrigerant lines to prevent energy loss and improve efficiency.
- Connect the other end of the refrigerant lines to the outdoor unit.
Step 5: Electrical Connections
- Connect the electrical wiring to the indoor unit, following the manufacturer's instructions.
- Run the wiring from the indoor unit to the outdoor unit, ensuring all connections are secure.
- Install a disconnect switch near the outdoor unit for safety.
Step 6: Vacuum and Charge the System
- Use a vacuum pump to remove any air and moisture from the refrigerant lines.
- Charge the system with the appropriate amount of refrigerant, following the manufacturer's specifications.
Step 7: Test the System
- Turn on the power to the system and set the thermostat to the desired temperature.
- Check for proper operation of both the indoor and outdoor units.
- Inspect all connections for leaks and ensure the system is running efficiently.
Common Installation Mistakes to Avoid
Incorrect Sizing
Choosing a unit that is too large or too small for your space can lead to inefficiency and poor performance. Make sure to calculate the correct cooling capacity based on the size of the room.
Poor Placement
Placing the indoor or outdoor unit in an unsuitable location can affect performance and efficiency. Ensure both units are placed in optimal locations for maximum effectiveness.
Improper Insulation
Failing to properly insulate the refrigerant lines can lead to energy loss and reduced efficiency. Make sure all lines are adequately insulated.
Ignoring Local Codes
Always follow local building codes and regulations when installing your system. This ensures safety and compliance with legal requirements.
Conclusion
Installing a split system air conditioning unit in your Central Florida home can provide you with efficient, quiet, and effective cooling. By following this guide and avoiding common installation mistakes, you can enjoy a comfortable indoor environment year-round.
For all your AC supplies in Central Florida, contact Discount Air Supply today. Our expert team is here to help you with all your air conditioning needs, ensuring you have everything you need for a successful installation.